Elements searches for publications you have authored or co-authored in online publication databases. It will only search internet databases that UT has license to use. In many cases, the search tool in Elements will return too many publications, especially if your surname is relatively common. Elements allows users to modify search settings.
How did the publication search tool perform?
Three things may have happened at this point:
- You are satisfied with the publications Elements found, and if there were a few that didn’t belong to you, you rejected them. If this is the case, you are done!
- You did not have too many publications listed that you had to reject, but you are missing a good number of publications that do belong to you. If this is the case, you will want to change your search settings to broaden the search.
- You had too many publications listed that you need to reject. If this is the case, you will want to change your search settings to narrow the search as indicated below.
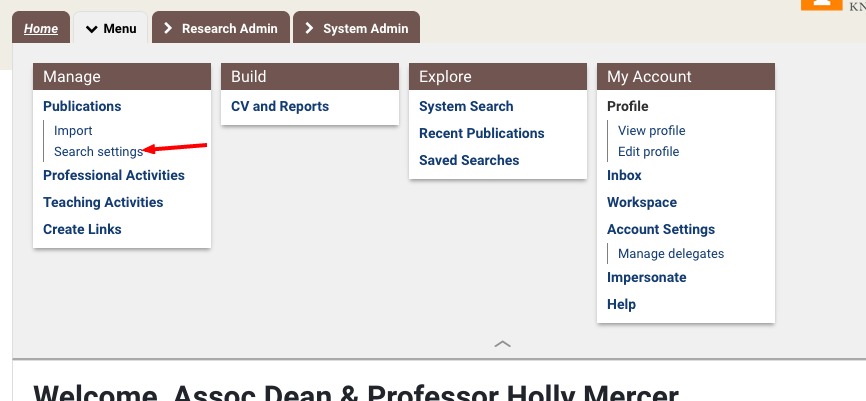
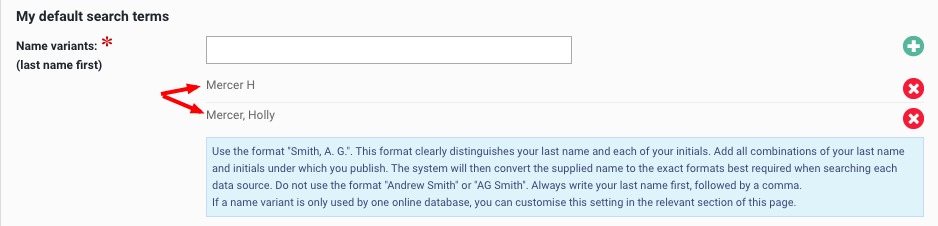
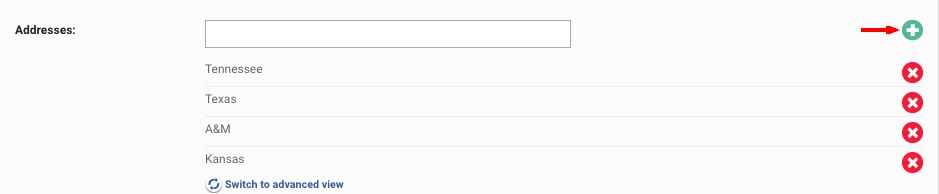
On first login to Elements, confirm that the name and address are appropriate. Click on the Menu tab. Under “Publications,” in the “Manage” column, click “Search Settings.” The name variants: should be in the format “Public JQ.” (Last name, first two initials if you have a middle name),The addresses: may say “Tennessee.” In most cases, this should be enough for a successful search; in a few cases, if that name does not match any name you have published under, add other names.
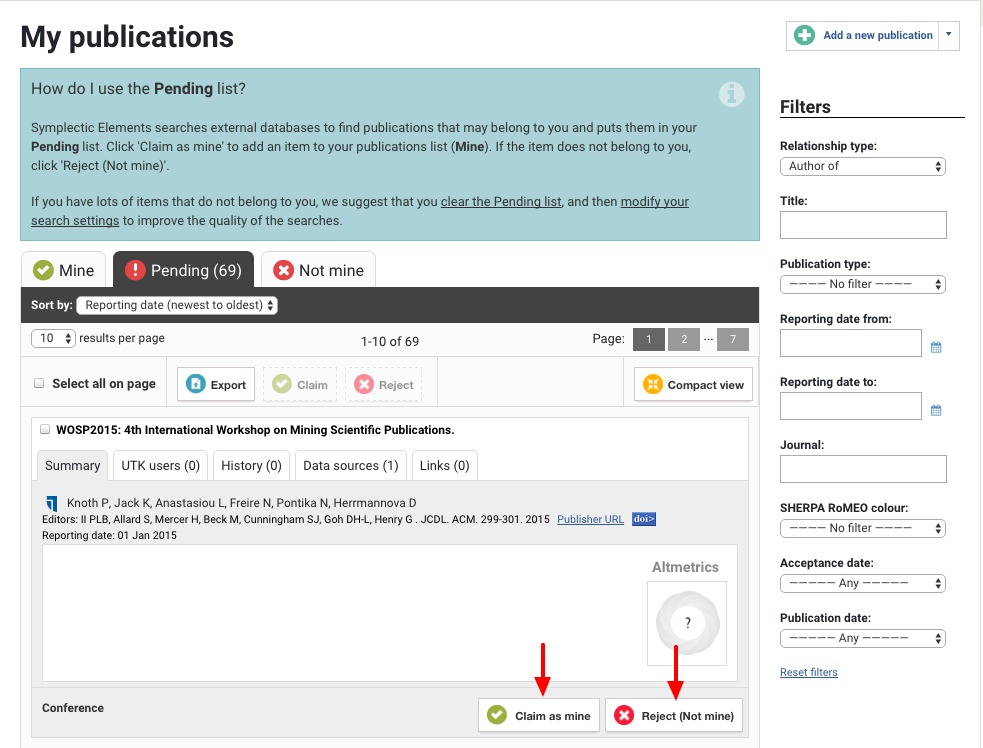
An initial search using default settings should find publications with any author matching the name and any author’s address containing “Tennessee” (if your last name is common). Usually this will find a few publications that are not yours (an author with same name and some co-author with “Tennessee” in their affiliation) and many but not all of your publications. All found publications are listed in your “Pending” tab on the Publications page. You must claim them (or not). Email alerts tell you when to claim new publications.
Reset pending publications
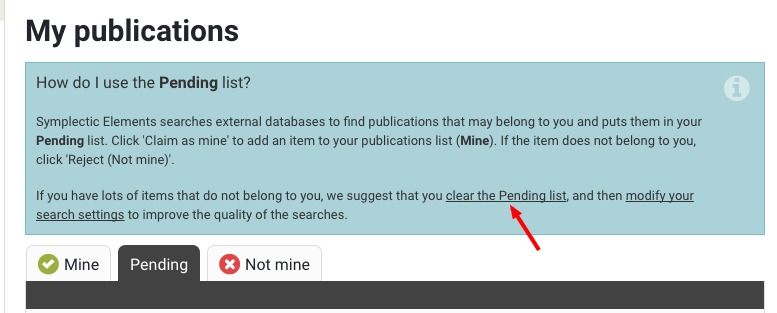
If you received too many publications, there are other steps you can take to narrow the search. Before you add additional settings, you may want to clear out your pending publications before making changes. Click on the “Pending” tab on the Publications page, and then click on “clear the Pending list” in the last sentence in the blue box.
Not enough results? Broaden search settings
If you seem to be missing publications, you might want to broaden the search settings.
One explanation for missing publications is that you have published under other names. If so, click on “Search Settings” under “Publications” on the Menu page and add name variants in the first field under the “Settings” section. This should pick up more of your publications.
Another explanation for missing publications is that you have published with different affiliations. If so, add other addresses to your search settings. For example, if you published when you were at a different institution before coming to UT, choose the key word for that institution (e.g., “missouri”, “stanford”). Do not use explicit names (e.g., University of Missouri) since publishers seldom use the full name of institutions in bibliographic data.
When you run your next search, you will see these new terms applied to your “My Search Settings” panel.
Too many false positives? Narrow search settings
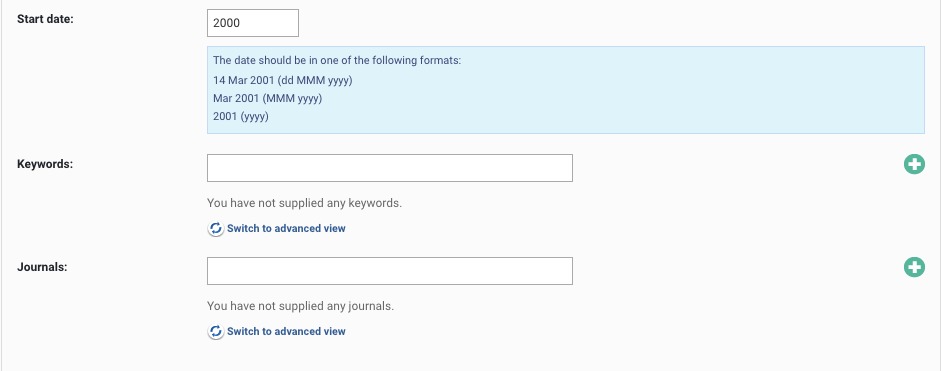
In some cases, when a name is quite common and there are others with that name at the same institutions you have published from, you may get too many false positives. If so, it may be helpful to specify either a start date (e.g., the year you started publishing), keywords, or journals.
WARNING: Narrowing search parameters
Use caution; this will severely limit the number of hits and may not capture all your publications.
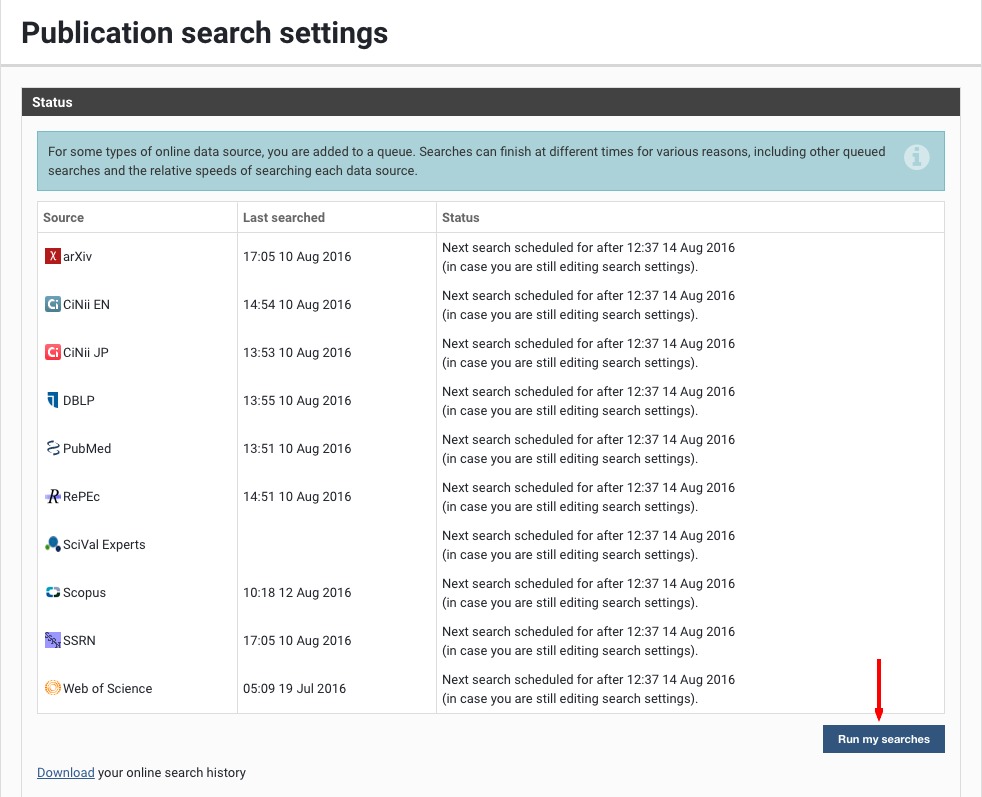
Once you have made changes to your search settings, you may want to activate the next search.
You can prompt the search tool to bypass the built-in, 30-minute delay by selecting the “Run my searches” button. This will add you back into the queue, but it does not guarantee that your results will be completed earlier than 30 minutes since there may be others ahead of you in the queue.
After the search tool runs successfully—this process may take 5–30 minutes depending on volume of use—you will need to review the pending publications and claim or reject them.